Pond Winterizing
Objective: To prepare the pond, fish, and plants for winter and to protect them from freeze damage.
Start of Fall
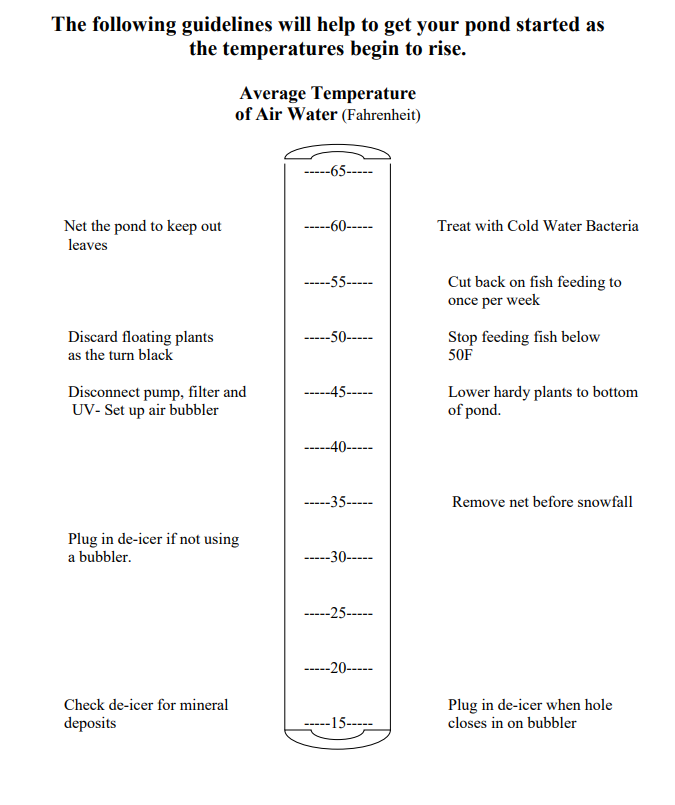
As water temperatures begin to drop, you should start to decrease the amount of food and frequency of fish feeding. If you are feeding daily, drop back to every other day, then 2-3 times per week until you stop completely when the water temperature reaches 50°F.
Start your fall beneficial bacteria treatment. If you have had problems in the past with fish disease or your fish “look sick”, treat the pond for parasites and bacterial infections when temperatures are above 50°F. Some find it beneficial to add pond salt for the protection of the fish. Just remember that pond salt is only removed by water exchanges and may disturb the growth of aquatic plants.
It is recommended that the pond be covered with a net to keep out the leaves and debris that drop from the trees as the fall continues. Rather than stretching the net flat across the top of the pond, create a tent shape so that the leaves roll off the net to the side of the pond. This will make it easier to gather the leaves for composting and keep the net from sagging. The net should be left on until all the leaves have fallen from the trees and you have picked them up from the yard. Remove the net before the first snowfall.
As the foliage on the hardy plants begins to yellow and die back, trim it off so that it does not decay in the pond. Floating plants and tropical plants can be left in until the frost has killed them and then promptly discard and composted. If you plan to winter any tropical plants indoors, be sure to bring them in before the first frost.
(Additional information follows at the end that indicates which plants are hardy and which are tropical.)
End of Fall
After you have stopped feeding your fish, it is best to wait two weeks before you remove the filtration system. Do not feed again once the pumps and filters have been taken out.
Before the onset of freezing temperatures and just after you have shut down the pumps and filtration, drain and clean all filter parts, storing necessary parts indoors where they will not freeze.
- Remove nets, filter pads, brushes, and pump from the skimmer box
- Remove the pump and clean around the impeller and screen. Most pumps should be stored in water inside or above freezing temperatures to keep the seals from drying out. Easy Pro Stainless Steel Pumps (TH series) should be cleaned and stored dry for the winter.
- Store the filter pads, etc., dry after they have been cleaned.
- Take in the entire UV sterilizer. Clean the quartz sleeve by swishing some warm water and bleach back and forth over the sleeve. Rinse and store above freezing.
- Take in entire pressurized filter systems. Clean the pads or bio-balls and store above freezing.
- Open any drains and let gravity drain any filter systems installed as part of waterfall. If your tubing has pockets for water to settle in, blow out the tubing and plug it off so water will not be trapped and freeze, thereby causing the pipe to crack.
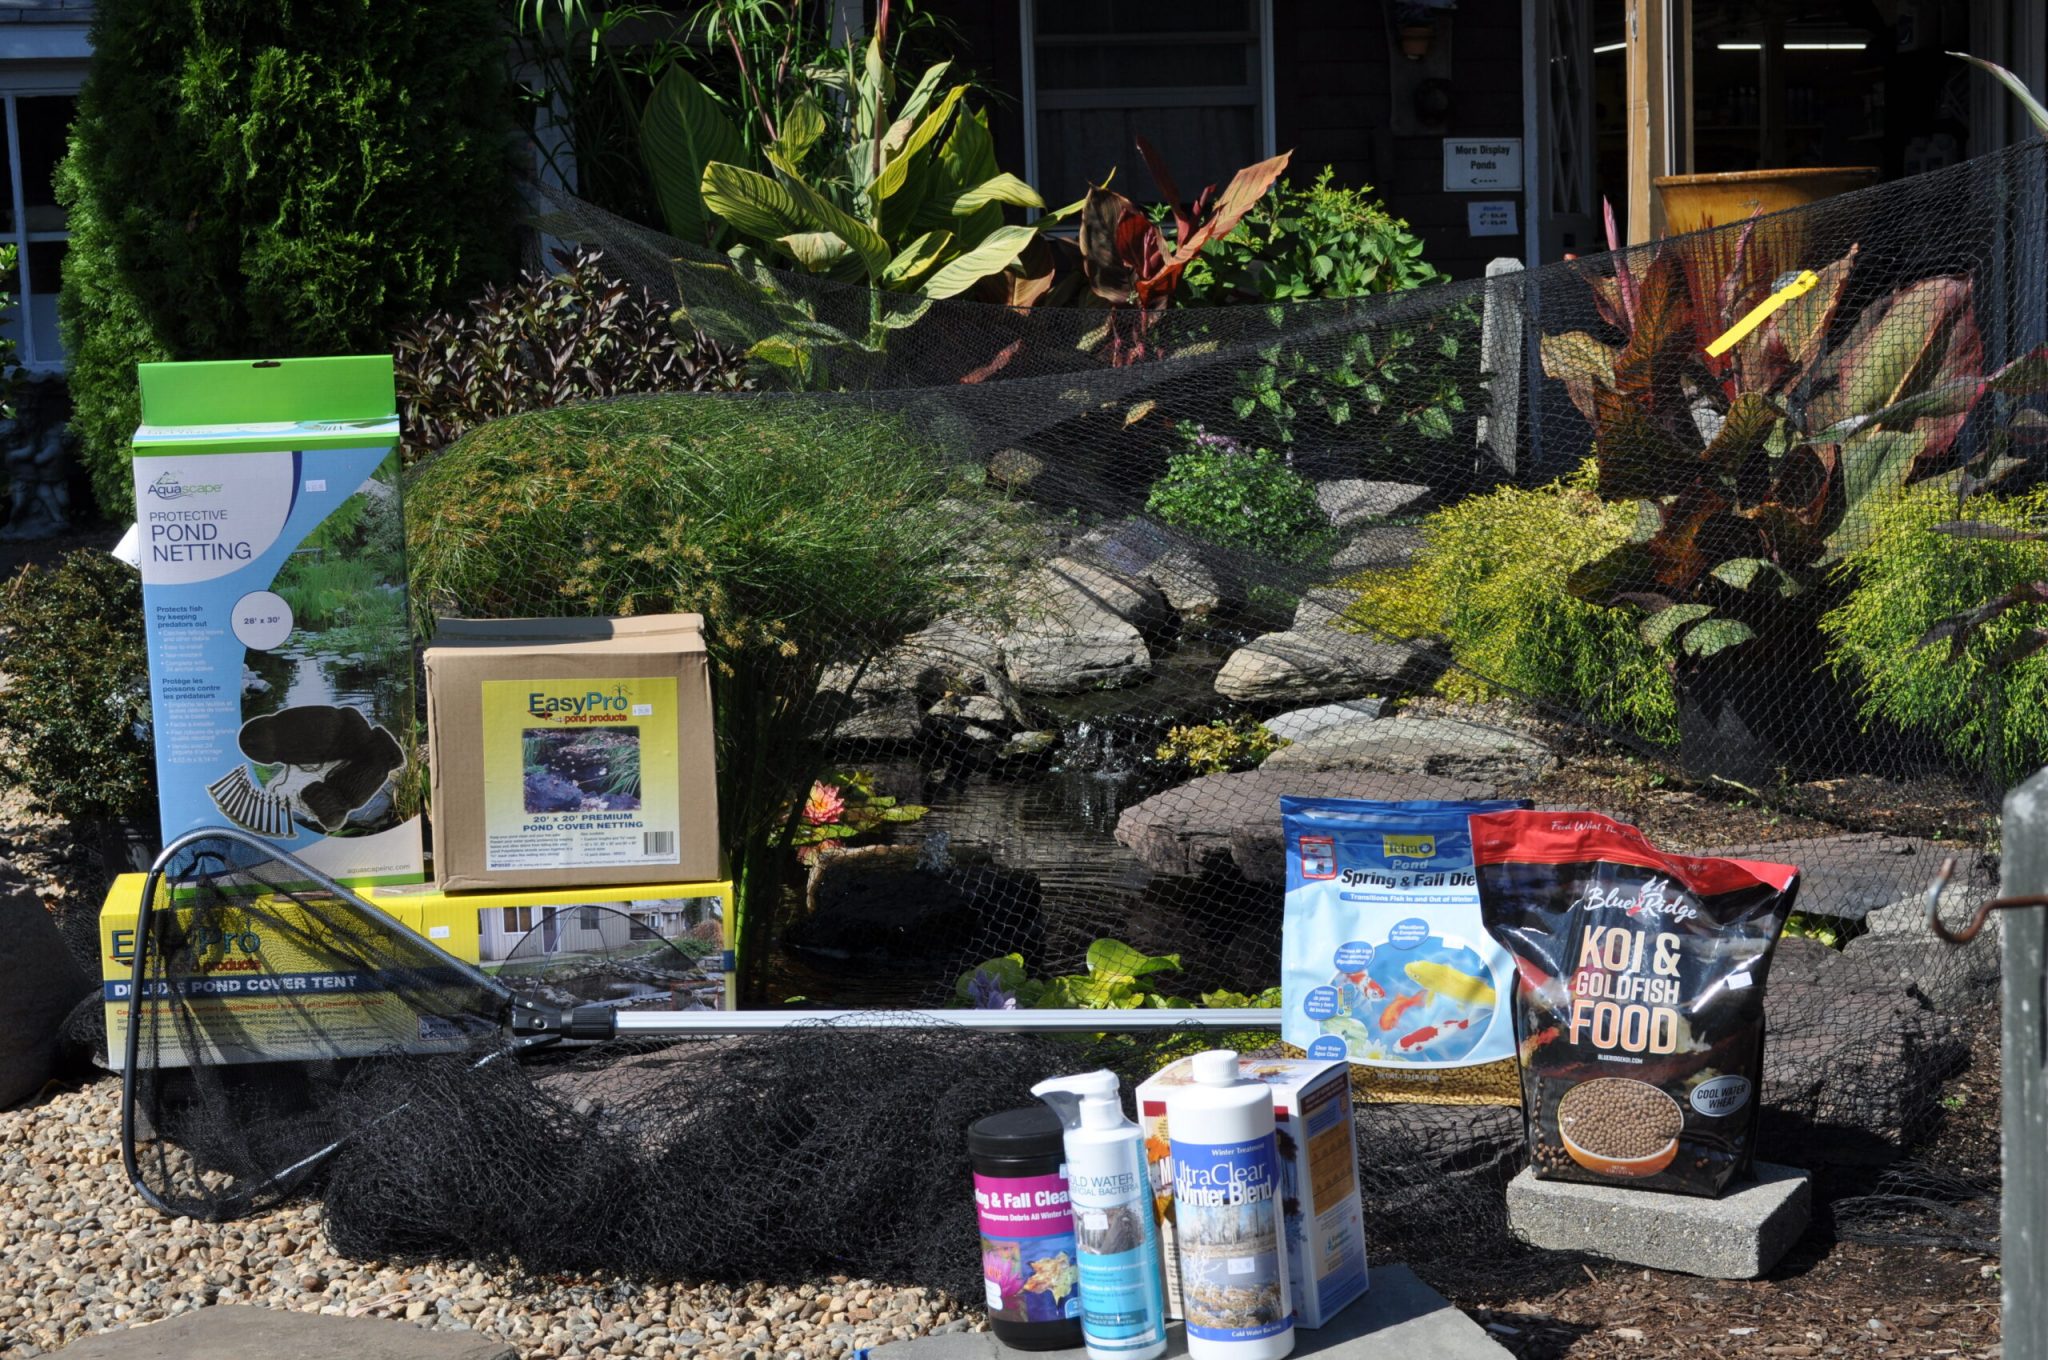
Set up your aeration device as soon as you disconnect your pump and filter. This will run continuously all winter. An opening in the surface of the pond is important at all times through which an exchange of oxygen and toxic gases can occur. Oxygen will enter the pond as toxic gases from the breakdown of organic materials exit the pond.

Winter
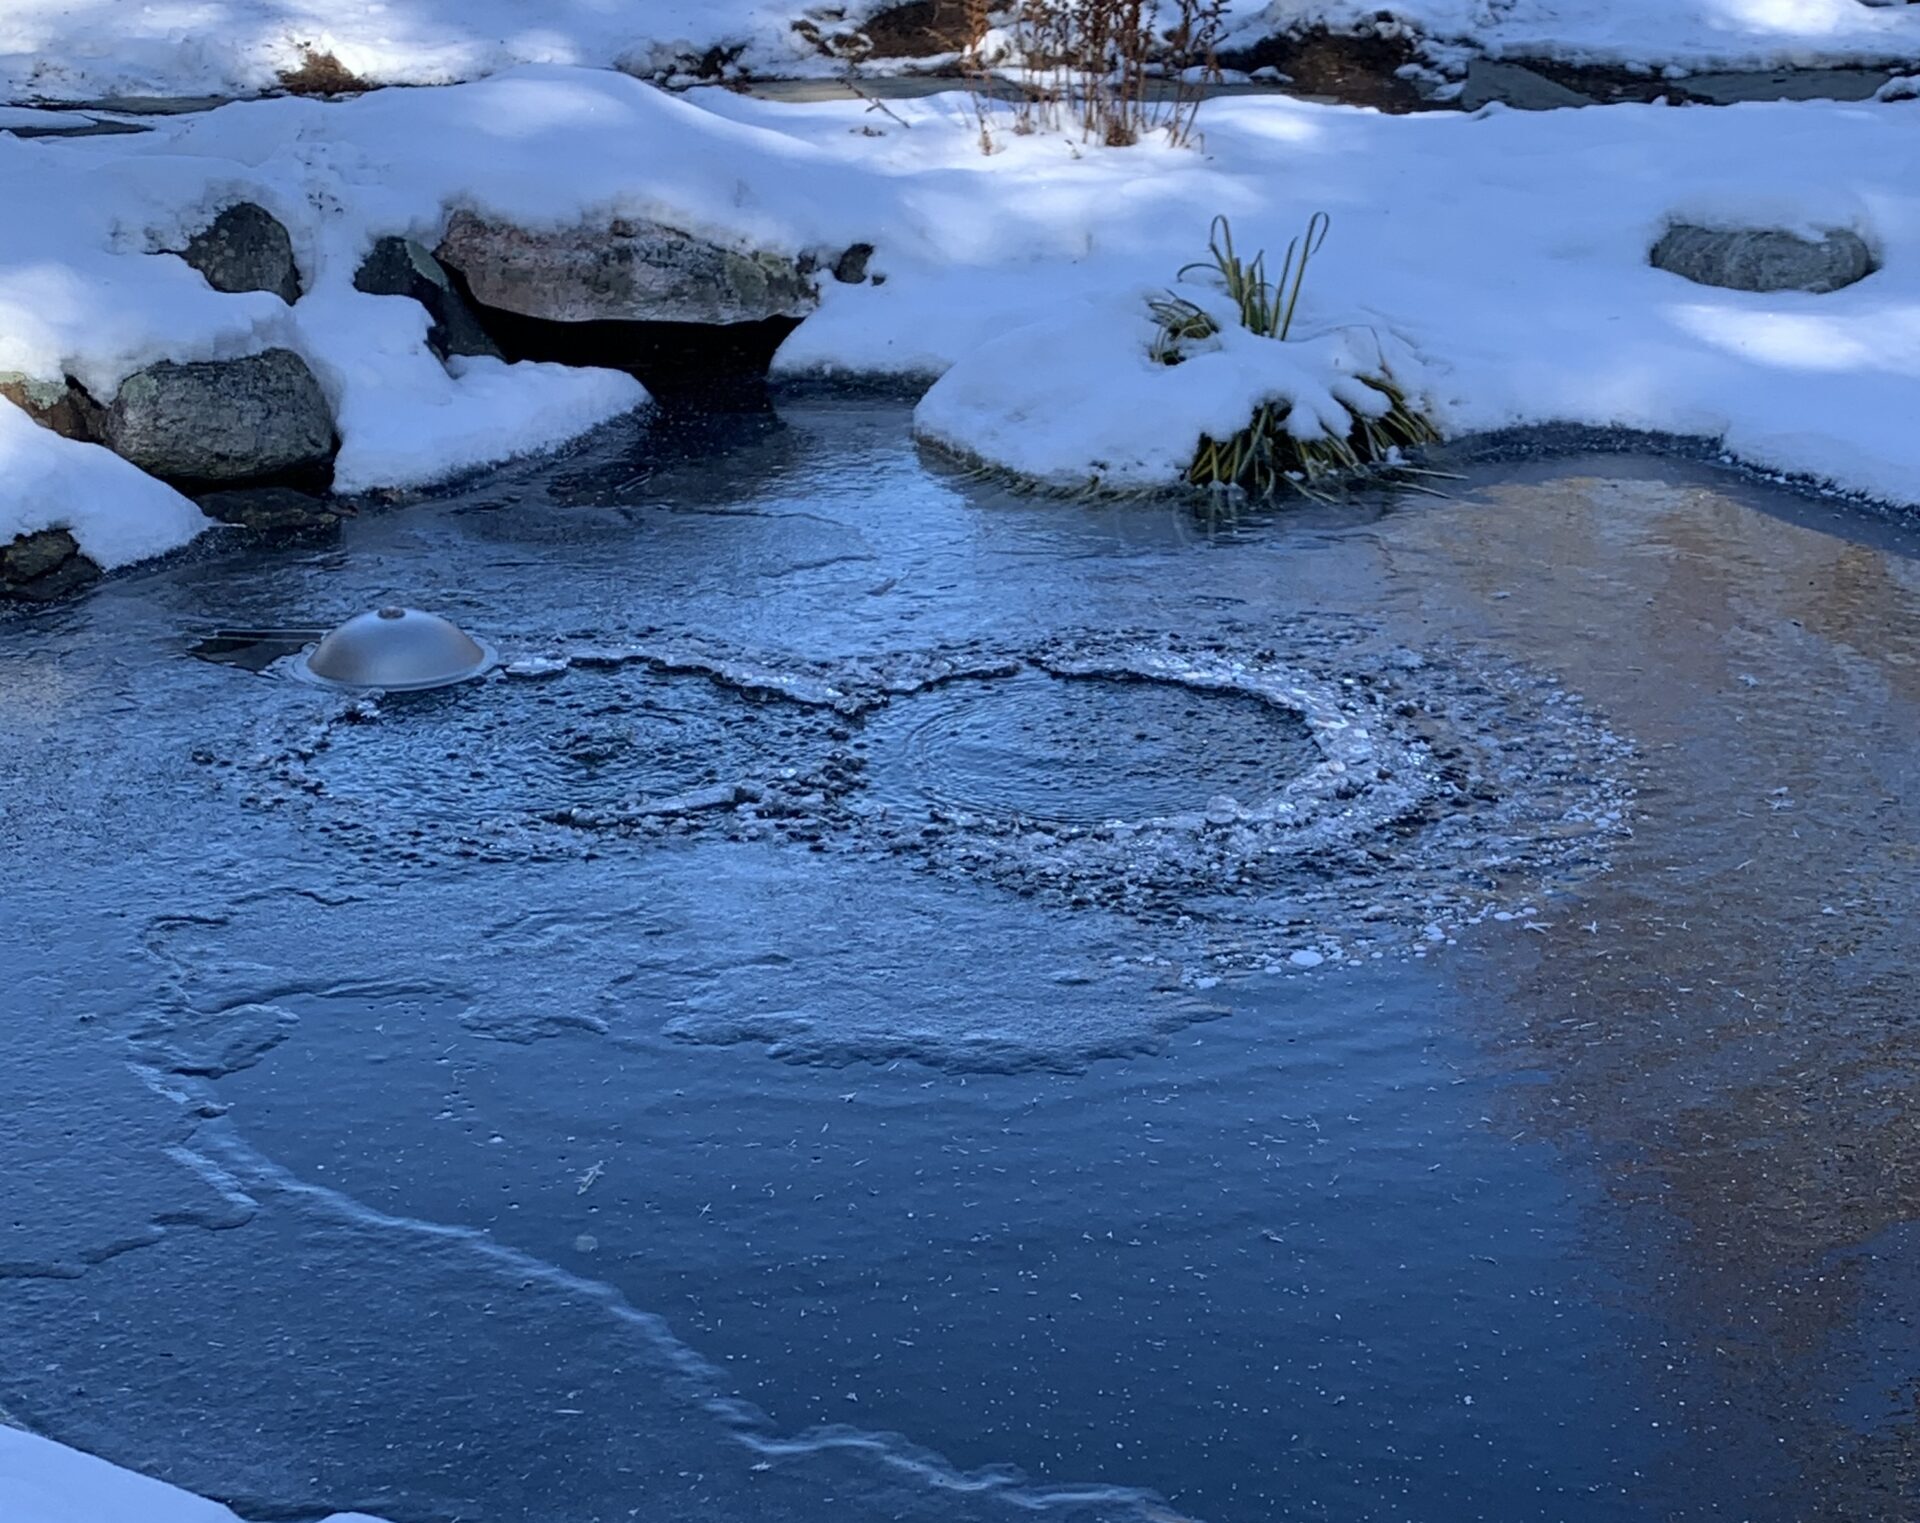
It has been our experience that the opening in the pond surface should range from 6”–36” depending on the size of the pond, the size of the fish, and the number of fish. There are a number of pond de-icers and methods of keeping the pond surface open. We have trialed most of these and are always on the lookout for new methods. To date, our experience has shown that the use of an air bubbler and a de-icer together has been the best method and most economical in the long run.
An air bubbler consists of a small air pump located outside the pond (but protected from the winter climate and water damage) with an air hose running into the water with an air diffuser at the end. This air diffuser should hang approximately half the distance of the pond depth. The same success can be achieved with a small water pump (170–500gph) that is set just below the surface of the water. It is important that the pump not be located on the bottom so as not to disturb the warmer water on the bottom of the pond. This bubble action and water movement will keep an opening in the ice down to temperatures approximately 12°F-15°F. This may be all that is needed in areas that are well-protected or along the coastline.
Turn on the de-icer when your surface hole begins to close in. We recommend the use of a pond de-icer along with the bubbler. Turn the de-icer on when the temperature drops below 15°F or when your pond surface opening is smaller than 24”.
***Important: Your de-icer can be turned on and off as needed; however, the bubbler should run continuously. Using a timer to turn the de-icer on at night can save on electricity (running it at night is critical). Manually turning the de-icer on and off will also help.

Remember that what worked last year may not necessarily work again. As your fish grow, they require more oxygen, and, therefore, a larger opening in the surface of the ice is needed. Larger fish are also more valuable, and keeping a backup heater on hand may save you from large fish kills during the winter.
Check your pond daily to be sure everything is working properly. Exposed heating coils, such as Allied 1000-watt De-Icer or K&H 250-watt De-Icer, need to be kept clean. Any buildup of deposits from the water (lime, mud, fish waste, etc.) can cause the heating element to burst, sending electric current into the water, shutting down the de-icer, and voiding the warranty. Remove the heater from the pond, let it cool down, and then clean the deposits with vinegar or lime-off throughout the season (every two weeks at a minimum). When using an aerator, check on the air hose line to be sure air can flow through freely and be sure the unit is protected from water damage.
Netting the Pond
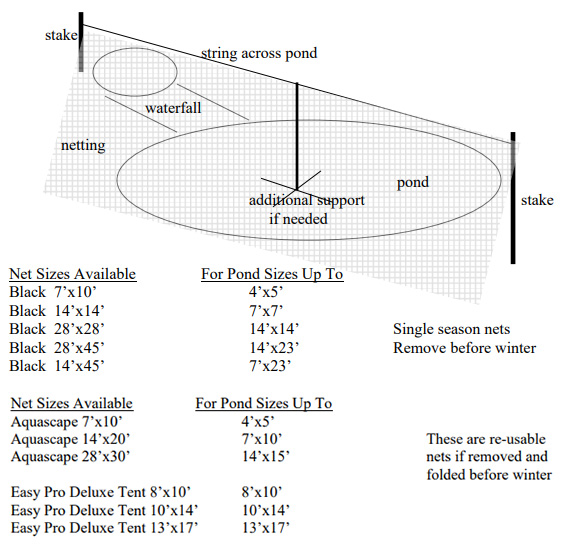
Do not stretch the net out flat across the top of the pond. As leaves accumulate on the net, it will droop into the water, adding even more weight and forcing the net lower into the water. Fish could potentially get caught in the net, thereby doing harm.
Instead, make a tent over the top of the pond. Use a couple of stakes on either end of the pond and run a string between them. Drape the net up and over the string and fasten to the ground. Be sure to close up the ends as well. Don’t forget to include your stream and waterfall inside the net. You may have to use two nets slightly overlapped in the middle to include everything. Larger ponds may benefit from an added support in the center of the pond to hold up the net. Support can be constructed from PVC pipe that would be safe for the fish and pond.
Leave the net on until all of the leaves have fallen from the trees and have been picked up from the yard. Take it off before the first snowfall.

Wintering Fish Inside
If you plan to bring your fish in for the winter, weigh your options carefully. Larger fish are better left outside since they will require more room inside than smaller fish and usually have a large enough body to store energy for the winter. Fish moved inside will need to be kept inside until water temperatures rise enough to move them back out. This can be well into spring in our area. Also, fish inside will need more care throughout the winter than those left out.
Inside you will need a holding tank, pump, and filter. You can use your filter and pump setup from outside, provided it is not too large. The best place for your indoor tank will be where the temperature of the water stays between 50°-60°F. This will keep the fish's metabolism slow but not dormant. Before temperatures are too low, bring some of your pond water in for your indoor setup if it is good quality. When filling with tap water, be sure to de-chlorinate it or let it sit for one week before putting in fish. Test the temperature and pH inside and outside to ensure that fish are moved into water with the same or similar levels. Test the water and keep records throughout the winter for pH, ammonia, and nitrite. When everything is set up inside, you can begin moving the fish inside. Try to move them on a day that the water temperature in your outside pond and inside pond are within a few degrees of each other. This will avoid putting the fish under unnecessary stress. Be sure to cover the indoor tank with a net. Fish, especially Koi, will sometimes jump after a move. It is a good idea to keep this net on all winter. Continue to check your water chemistry on a regular basis throughout the winter. A partial water change may be necessary if you notice a rise in ammonia or nitrite. Feed your fish minimally to keep ammonia levels in check—once a week should be plenty under ordinary circumstances.
In the spring, wait again until your indoor and outdoor water temperatures are within a few degrees of each other before moving the fish to their summer home. Do your spring cleaning on the pond before you move the fish outside. It is a good idea to test the outside water for pH before moving the fish. Ideally, the pH should be the same in both the outdoor and indoor tanks to move the fish. Be sure to dechlorinate the tap water after cleaning the pond. Your biological filter will already have a head start since it has been running all winter. Return both the filter and the pump to the pond when you move the fish. Increase feeding as the temperature rises until you are at your normal feeding level.

Wintering Aquatic Plants
Hardy
Name: Acorus (Sweet Flag)
Winter Care:
Trim and put below ice line in pond
Name: Aquatic Mint
Winter Care:
Trim and put below ice line in pond
Name: Arrow Arum
Winter Care:
Plant in soil and move to deepest
Name: Arrowhead
Winter Care:
Trim and put below ice line in pond
Name: Bog Bean
Winter Care:
Trim and put below ice line in pond
Name: Cardinal Flower
Winter Care:
Trim and put below ice line in pond
Name: Corkscrew Rush
Winter Care:
Drop below ice line in pond
Name: Cotton Grass
Winter Care:
Drop below ice line in pond
Name: Dwarf Bamboo
Winter Care:
Trim and put below ice line in pond
Name: Dwarf Cattail
Winter Care:
Drop below ice line in pond
Name: Dwarf Var. Sweet Flag
Winter Care:
Trim and put below ice line in pond
Name: Flowering Rush
Winter Care:
Drop below ice line in pond
Name: Golden Club
Winter Care:
Trim and put below ice line in pond
Name: Graceful Cattail
Winter Care:
Drop below ice line in pond
Name: Horsetail Rush
Winter Care:
Drop below ice line in pond
Name: Houttuynia
Winter Care:
Trim and put below ice line in pond
Name: Hornwort
Winter Care:
Trim if needed and leave on bottom
Name: Lizard's Tail
Winter Care:
Trim and put below ice line in pond
Name: Lotus
Winter Care:
Drop below ice line in pond
Name: Marsh Marigold
Winter Care:
Trim and put below ice line in pond
Name: Pennywort
Winter Care:
Trim and put below ice line in pond
Name: Pickeral Rush (blue)
Winter Care:
Drop below ice line in pond
Name: Soft Rush
Winter Care:
Drop below ice line in pond
Name: Water Celery
Winter Care:
Trim and put below ice line in pond
Name: Water Clover
Winter Care:
Trim and put below ice line in pond
Name: Water Iris
Winter Care:
Trim and put below ice line in pond
Name: Water Wisteria
Winter Care:
Trim and put below ice line in pond
Name: Zebra Rush
Winter Care:
Drop below ice line
Tropical
Name: Bog Lily
Winter Care:
Remove before frost, bring indoors
Name: Caladium
Winter Care:
Remove before frost, bring indoors
Name: Calla Lily
Winter Care:
Store in sunny wet location indoors
Name: Creeping Primrose
Winter Care:
Trim and bring indoors
Name: Dwarf Papyrus
Winter Care:
Remove and store moist indoors
Name: Dwarf Umbrella Palm
Winter Care:
Remove and store moist indoors
Name: Ludwigia
Winter Care:
Remove and store moist indoors
Name: Papyrus (Paper Plant)
Winter Care:
Remove and store moist indoors
Name: Pickeral Rush (pink)
Winter Care:
Remove and store moist indoors
Name: Pickeral Rush (white)
Winter Care:
Remove and store moist indoors
Name: Spider Lily
Winter Care:
Remove and store moist indoors
Name: Star Grass
Winter Care:
Remove and store moist indoors
Name: Taro
Winter Care:
Remove and store moist indoors
Name: Thalia
Winter Care:
Remove and store moist indoors
Name: Umbrella Palm
Winter Care:
Remove and store moist indoors
Name: Water Canna
Winter Care:
Remove and store moist or dry indoors
Name: Water Hyacinth
Winter Care:
Discard to compost
Name: Water Lettuce
Winter Care:
Discard to compost
Name: Water Poppy
Winter Care:
Remove and store moist indoors
Name: White Snowflake
Winter Care:
Remove and store moist indoors
Name: Zephyr Lily
Winter Care:
Remove and store moist indoors
If you plan to over-winter tropical plants indoors, remember to remove them from your pond before the first frost. They must be kept moist but not necessarily submerged in water. Trim any tall foliage.
As the foliage on hardy plants turns brown and begins to decay, remove it from the pond. Avoid cutting stems that are hollow such as Zebra Rush or Corkscrew Rush—just leave the dead foliage on these until spring. Cutting them sometimes leaves an opening for water to travel into the plant and to the roots where it rots. Outdoors they can be dropped to the deepest part of your pond or buried in the ground beneath the ice line. If your pond is not deep enough for plants to sit below the ice line, bring them to a basement or garage where they can continue dormancy but will not freeze. Be sure they are plenty wet when you put them down for the winter. Hardy plants can be kept moist by placing the plant in a tray of water or layering the top with wet newspapers and sealing in a plastic bag. Be sure to check throughout the winter to be sure the plants are staying wet.
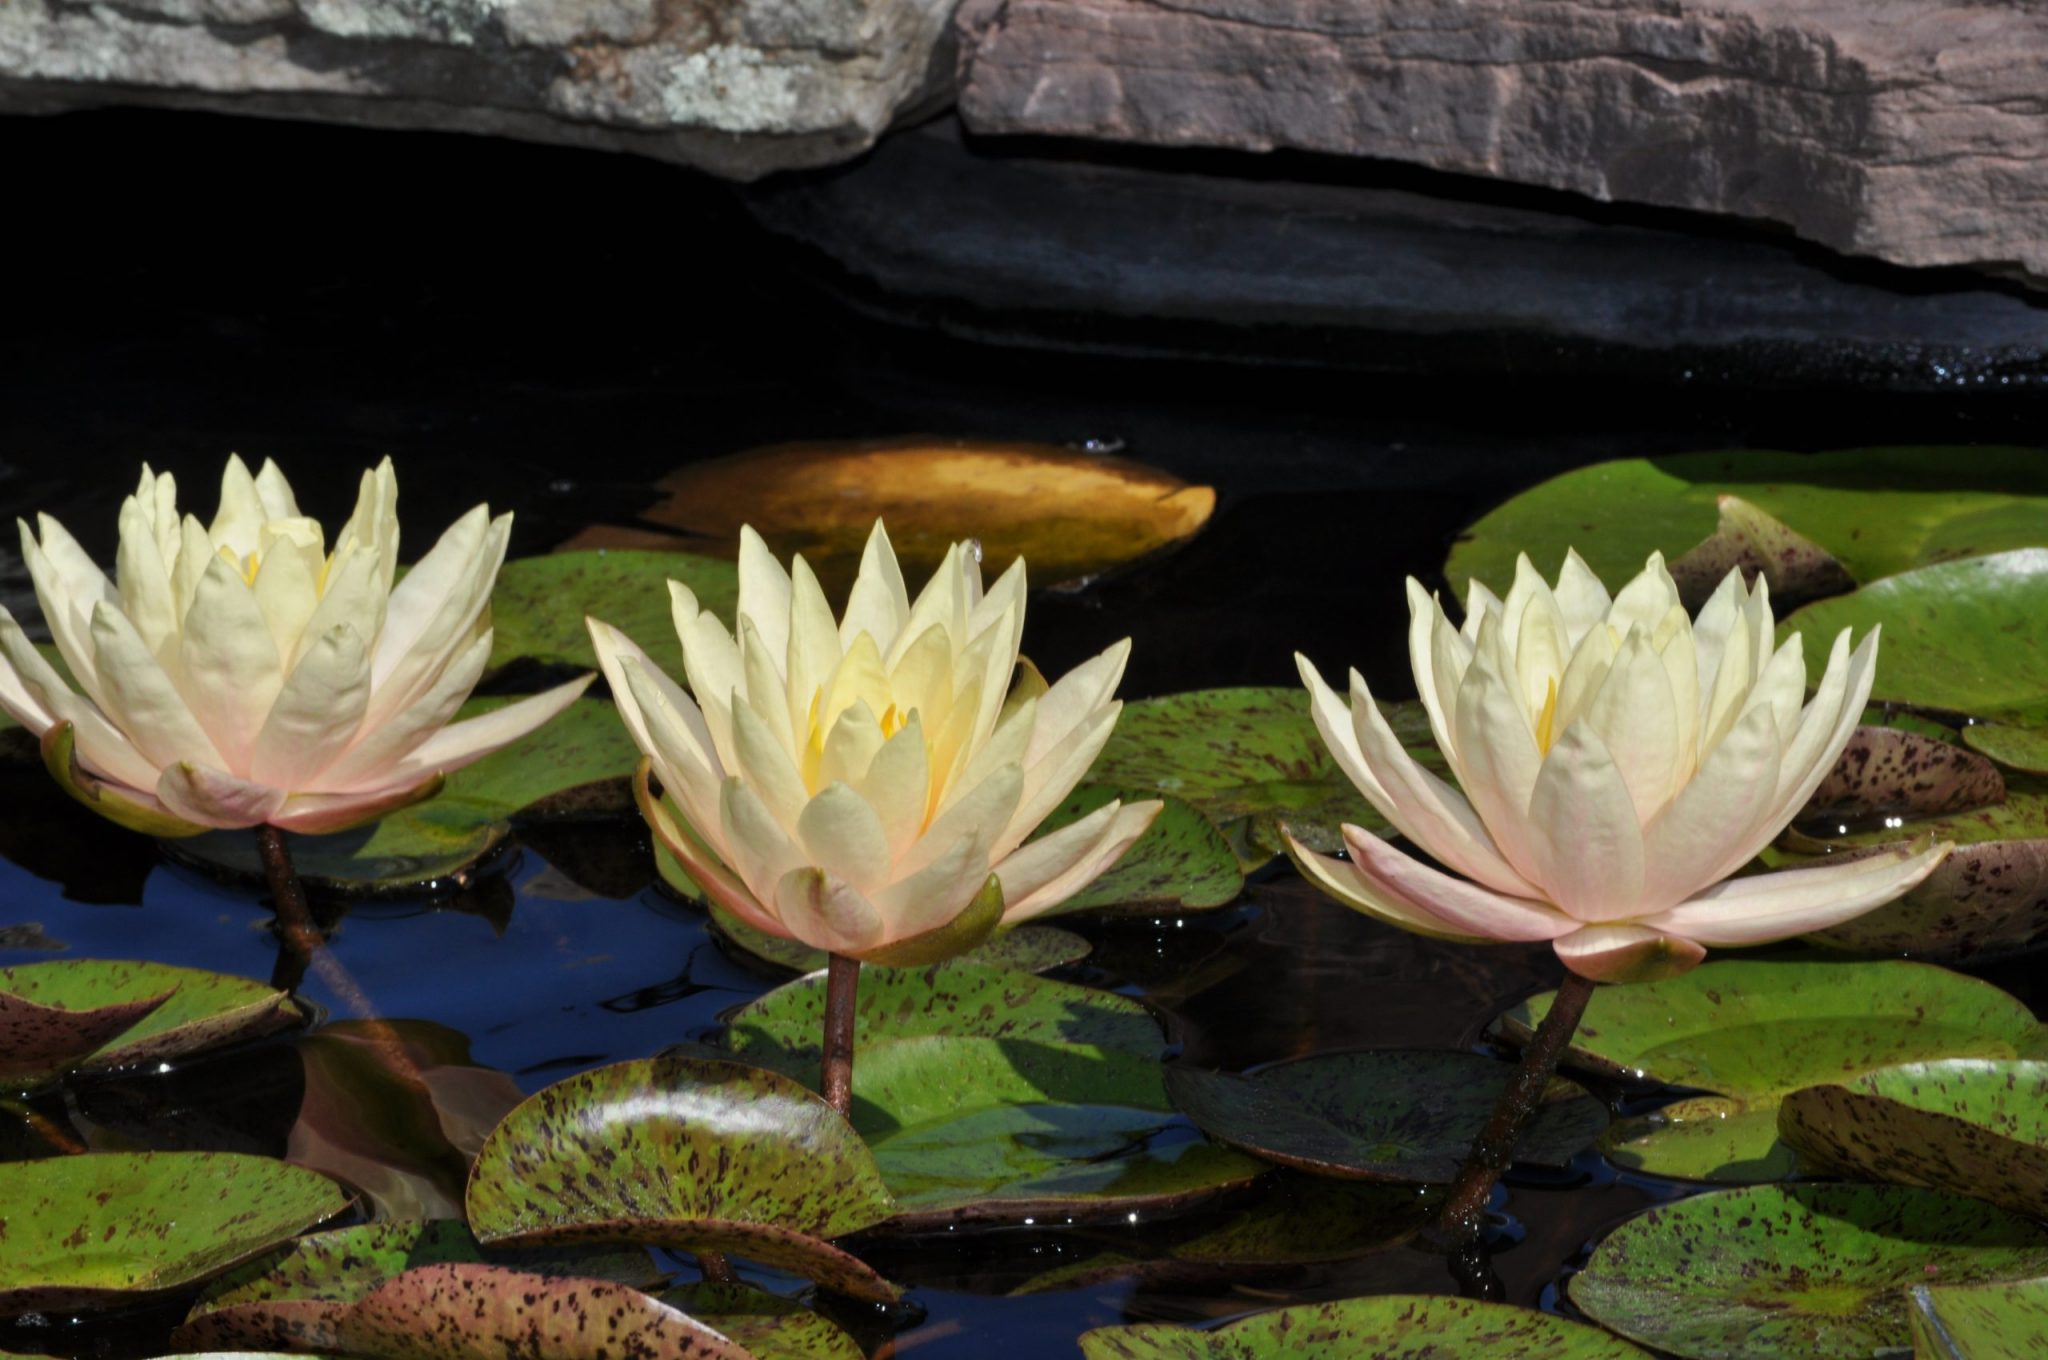
Water Lilies
Hardy Water Lilies
As the weather turns cool, you will notice that the new pads on your hardy water lilies are smaller than ones throughout the summer. This is normal and the beginning of its dormancy period. As older pads yellow, clip them off. When you are ready to shut the pond down for the winter, clip off any remaining pads and buds. Place the lily in the deepest part of your pond where the tuber will not freeze. If your pond is not deep enough, move it into a garage or basement that will not freeze. Store the lily in a bucket of water or layer the top with wet newspaper and wrap in a plastic bag. It does not need to be in sunlight. Check on it throughout the winter to be sure it stays moist. Do not fertilize until spring when you move your hardy water lily back out.
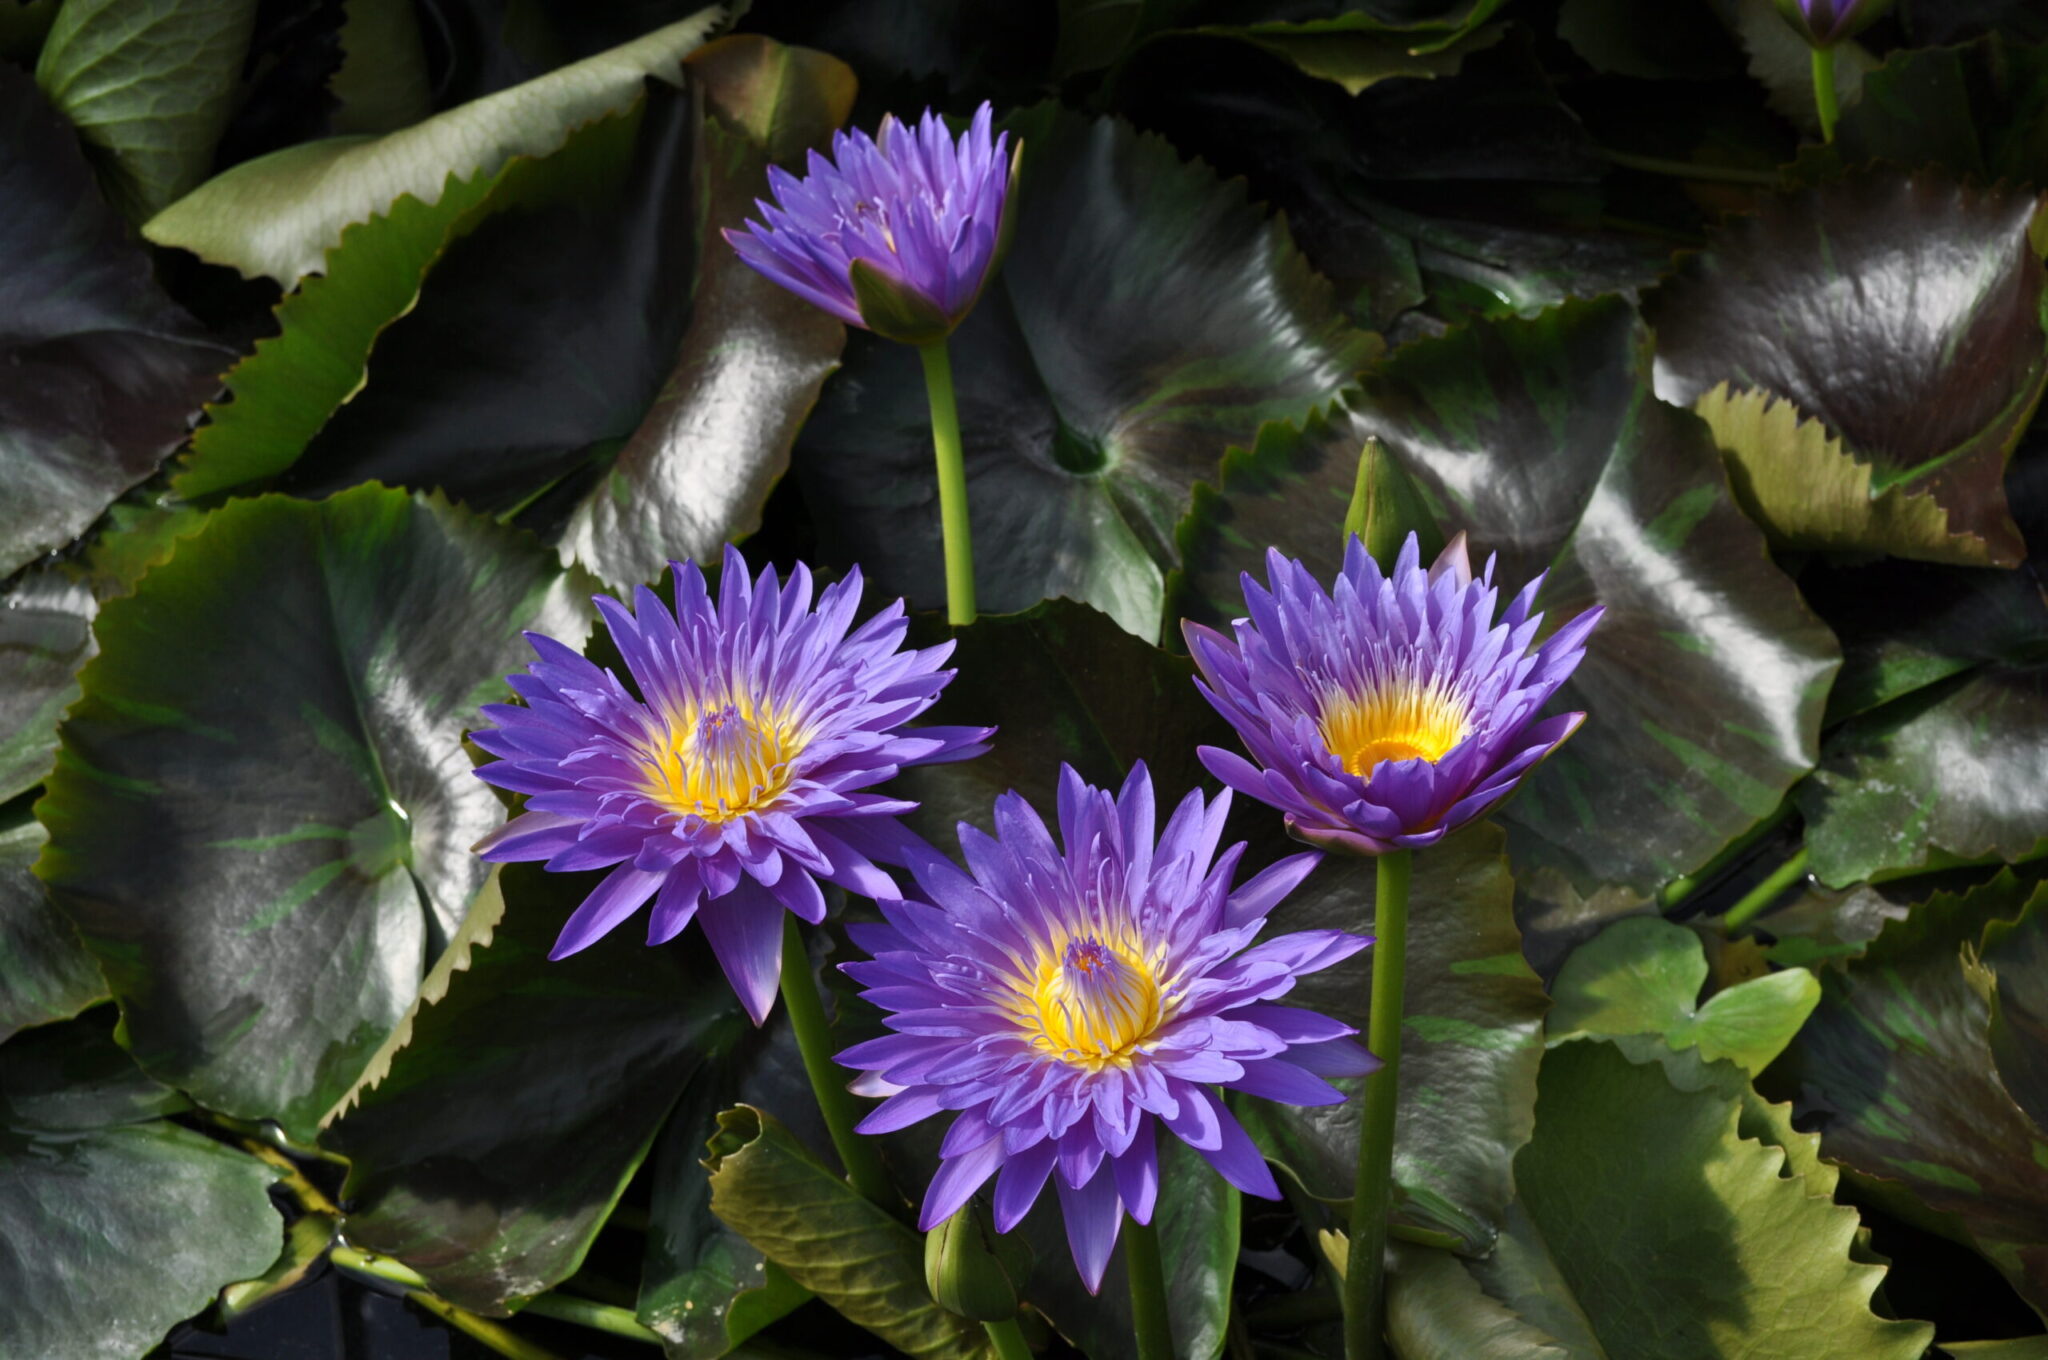
Tropical Water Lilies
It is best to treat a tropical water lily as an annual in this area. However, if you are interested in trying to keep it year to year, there are some options. The easiest way is in a greenhouse. A greenhouse will provide sunlight and warm temperatures during the winter months for a tropical lily. Do not try to grow the lily; just keep it alive. Keep it moist, and do not fertilize. In the spring, when the water temperatures reach 70°F, you can begin fertilizing and move the tropical lily outside.
If you do not have a greenhouse, you may want to use the dormancy technique for winter storage of a tropical lily. Tropical water lilies originate from a climate that is prone to drought. For that reason, they are able to withstand long periods without water in a dormant state. You can create this dormancy stage here. First, withhold the last dose of fertilizer that you would normally feed in late August or September. This will force the plant to produce a tuber. Leave the lily in the pond until all the pads are gone. Feel in the soil to see if the tuber is hard. It must be hard in order to properly store it for the winter. Once the tuber has hardened, remove it, and clean it off. If there are still roots or stems attached to the tuber, let them air dry and then snap them off. Place the clean tuber in a plastic bag or jar filled with sand and saturated with distilled water. Put it away for the winter in a cool dark place at 50°F. Check it throughout the winter to be sure it is not foul, and change the water if it is. In the spring, move the lily to a sunny area and wait for it to sprout growth. Once you see growth, re-pot the lily and submerge it in a shallow container of water. When the pads grow up to the water's surface and white roots appear, break the new plantlet away from the tuber and plant it. This will be your new plant. Keep it fertilized and in warm water. You may discard the old tuber.
A tropical lily can be a lot of trouble for the winter. Sometimes it's worth trying; sometimes it’s easiest to replace them each year. Either way, they are more fragrant and produce more flowers than a hardy lily will.


Contact us today with any questions you may have about winterizing your pond.
